Posted Monday, August 24, 2026
1moRear fogs finally installed
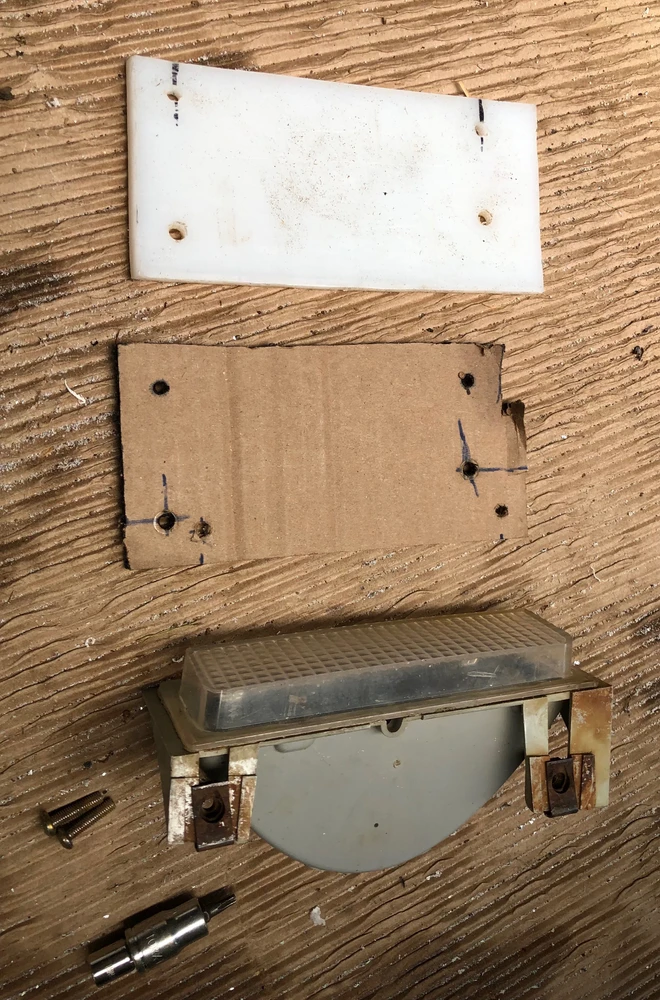
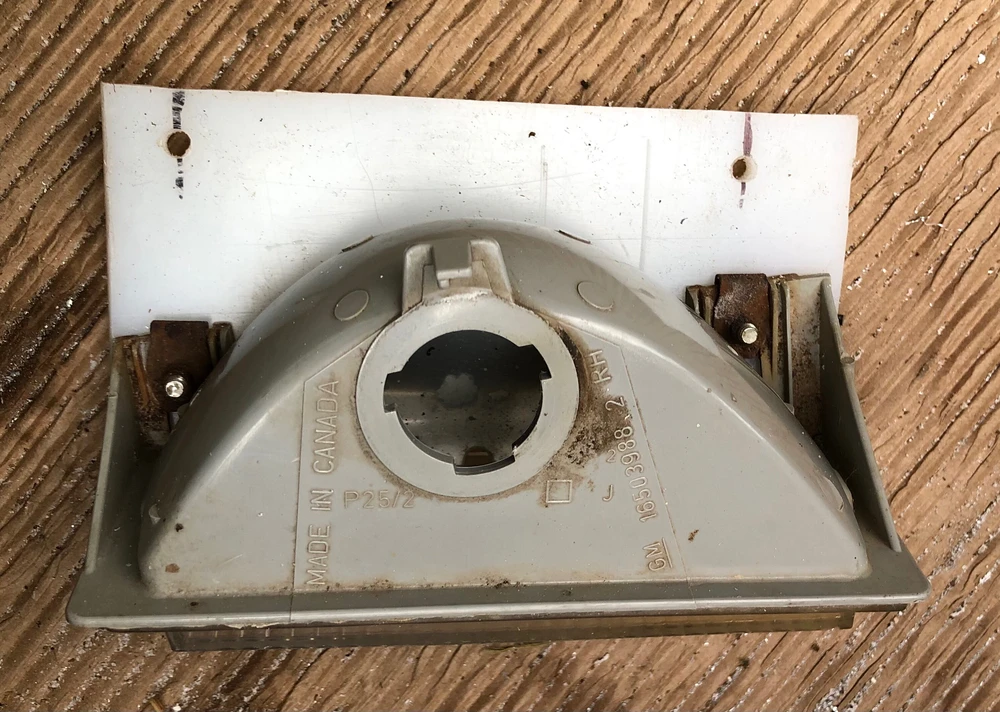
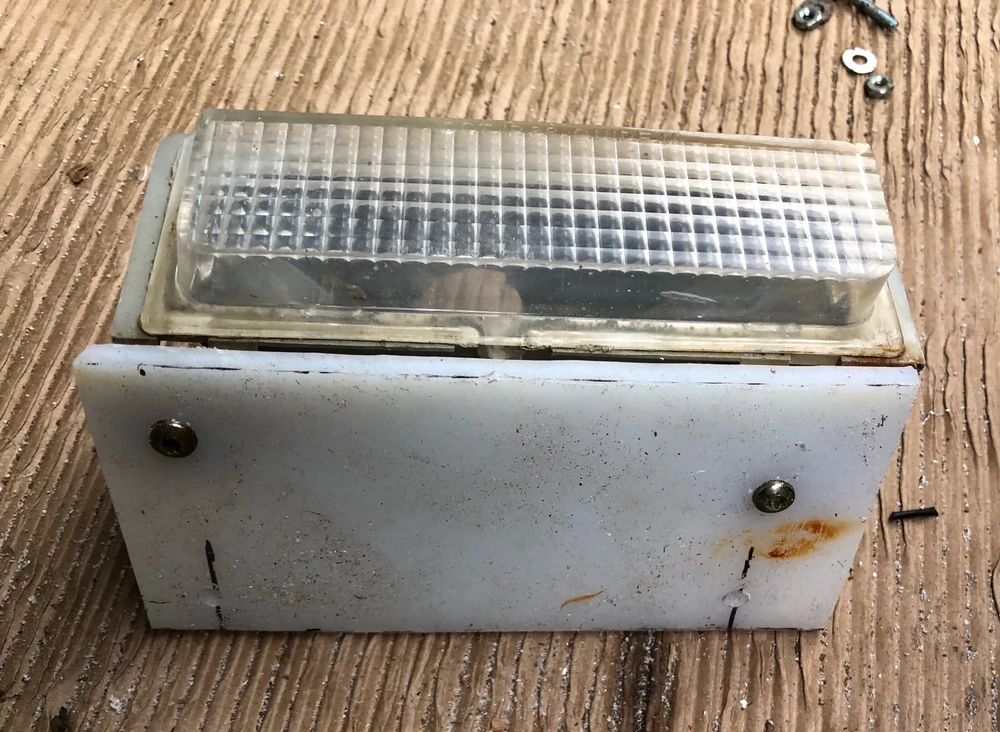
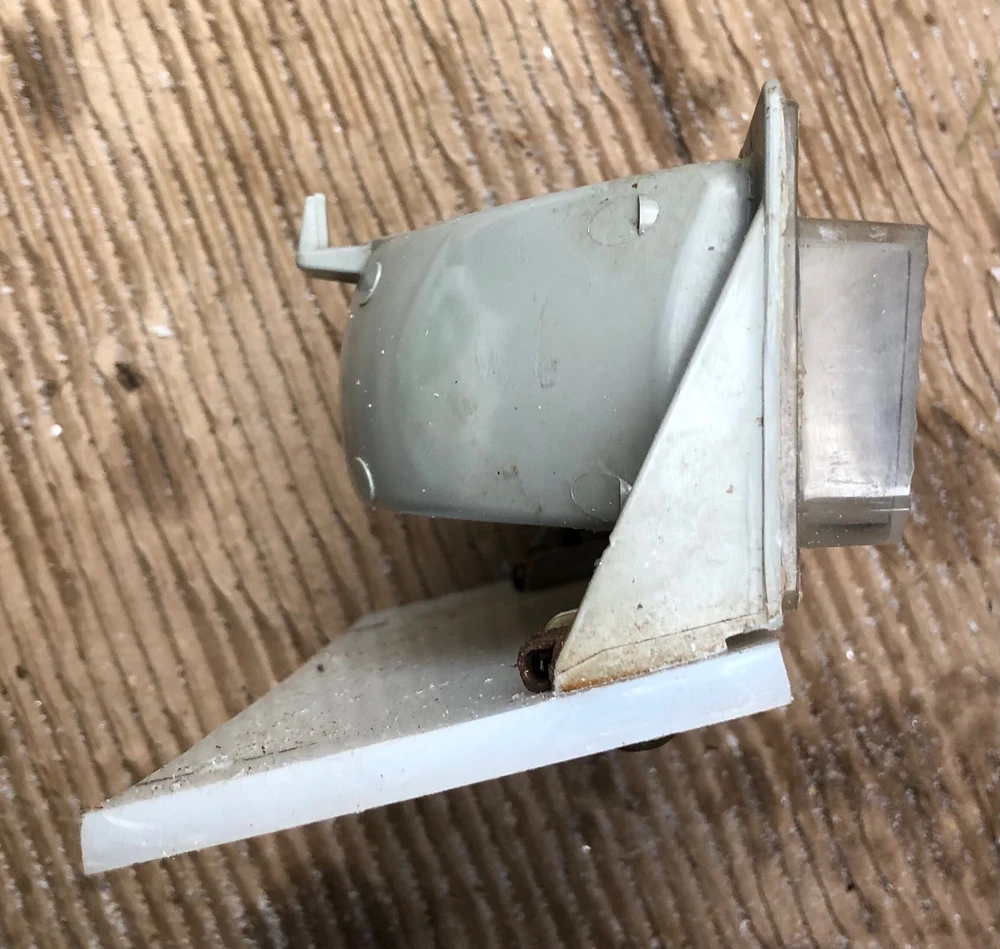
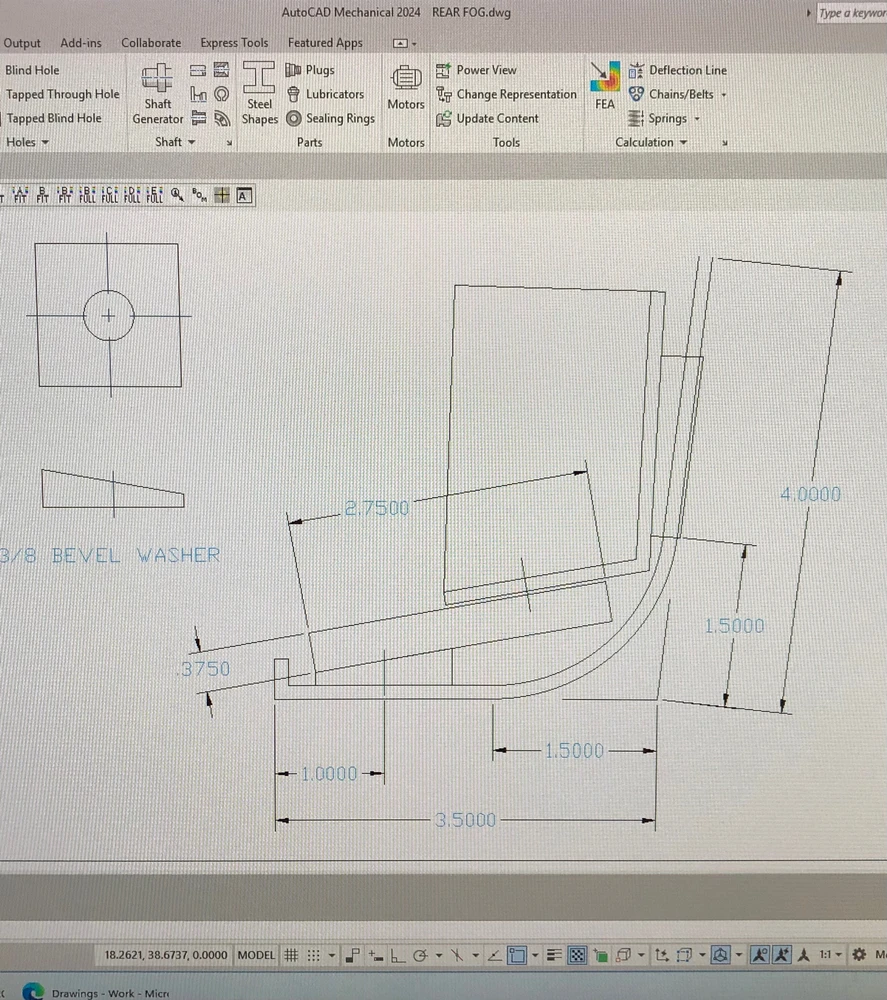
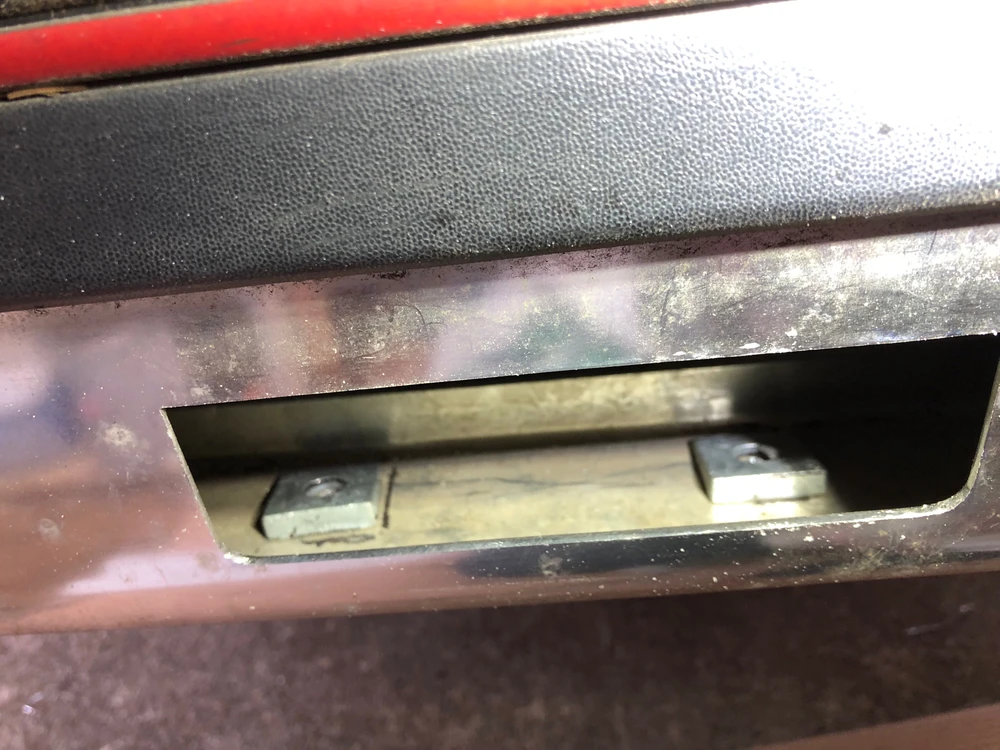
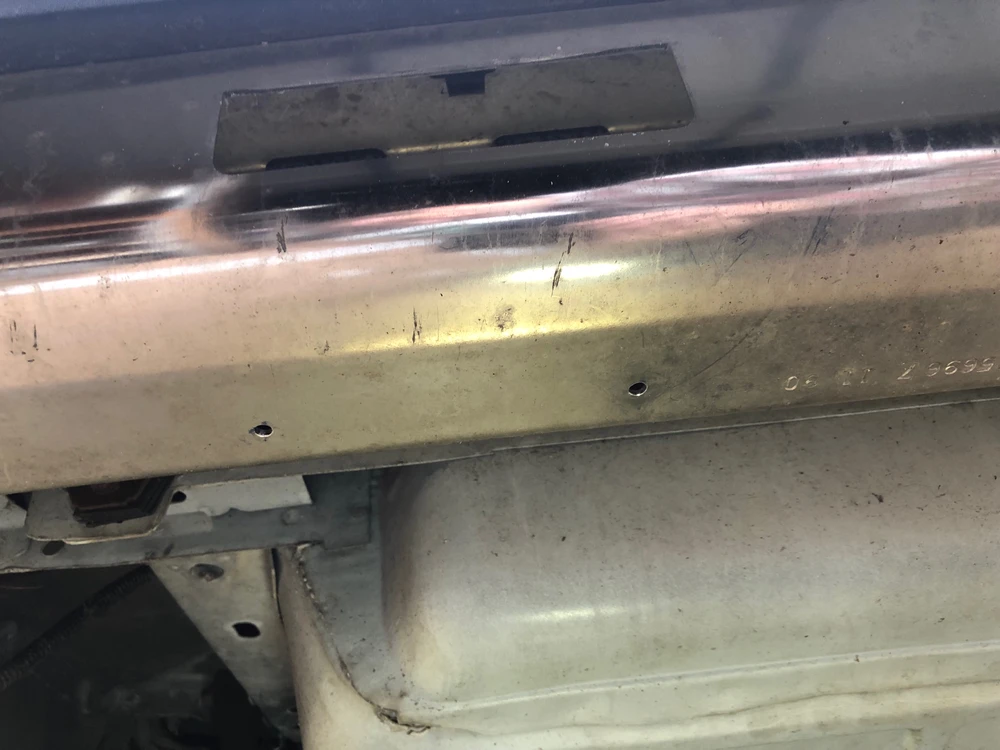
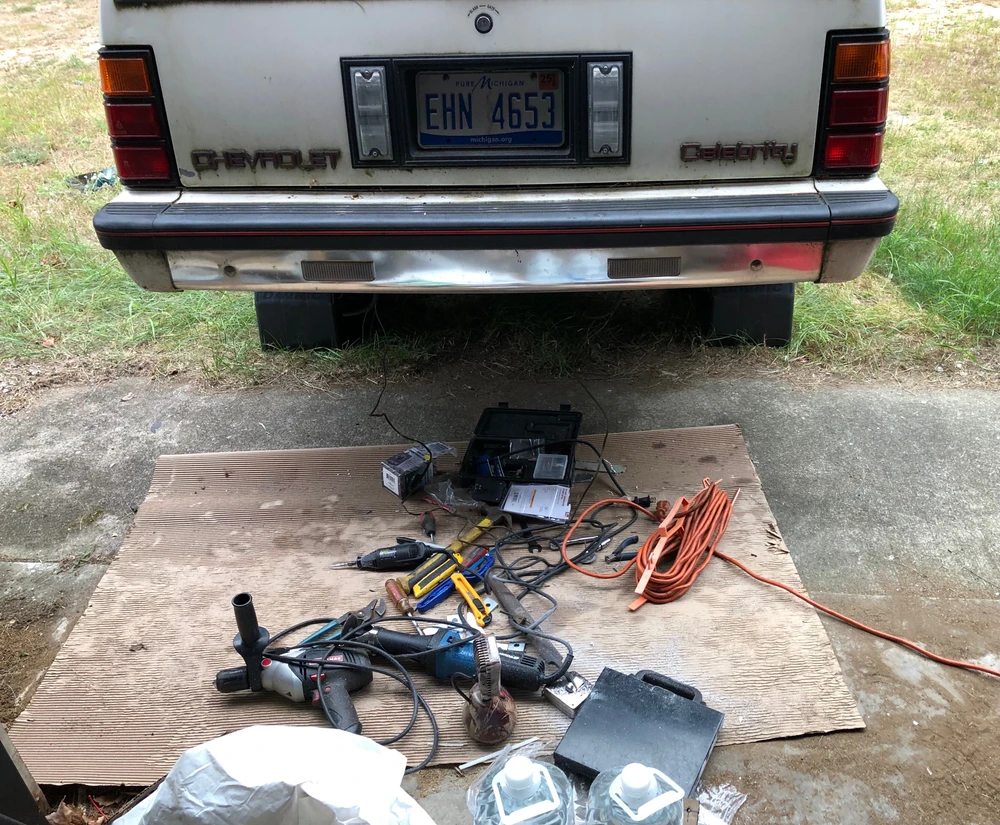
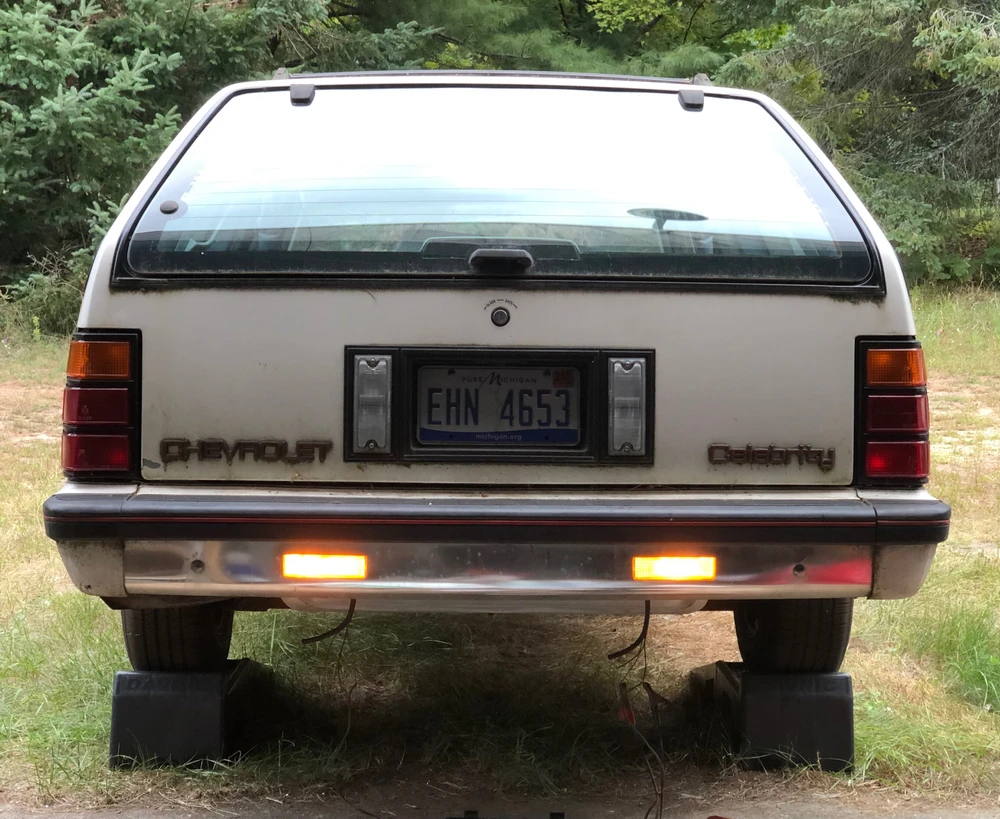
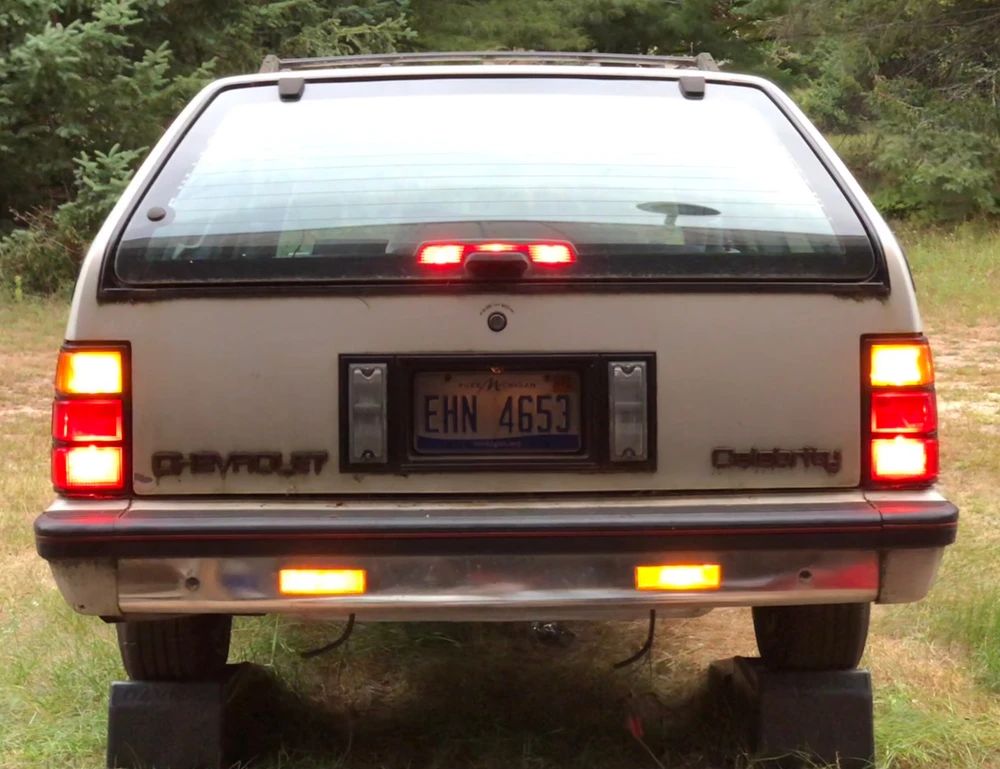
Pellets were on sale this week, so I got my 3 tons, so that’s done for winter. So even though it was below 50F with the wind chill and looked like rain all day, I decided I’d better get going at this again. Now that I made the die grinder guard. And that thing helped big time. Especially with this fan speed control I’ve had laying around for years, I could turn down the speed for more control. Between that, the dremel, and a hand file, I got the openings cut very nicely. Then per my earlier drawing, I made a cardboard mockup of the plastic plate, to size it just right, so it would clear inner bumper lip. Locating the bumper mounting holes was tricky, because you can’t see anything, and no room to drill from the inside. So I used the cardboard to locate the edges of the bevel washers. Then measured from the bumper face to the center of those, to get an idea where they would meet up with the plastic. Had to make sure enough meat remained to the edge of the plastic. Then I traced the cardboard to the plastic, and cut it out with the dremel. I only had 1/4” plastic on hand even though my drawing called for 3/8”, so that’s what I used. I installed the plastic to the light housing. Then after a test fit, I had to trim off 1/8” to make sure the lights could still be installed inside the lip. Pretty good accuracy so far. Then after checking the washer positions for the umpteenth time (they slide around easily), I carefully removed the light assembly, and traced the edge and center of the washers onto the inside of the bumper. Considering the initial placement was a very tricky area to measure to the bumper face, and one was 1” and one was 7/8” from the rear lip, I settled on 1” for all, so I marked both under the bumper at 1”. I’d rather they both look factory. My drawing also planned for 1”. Then the trickiest part. I held a sharpie inside the bumper on the hole centers I traced earlier. Then eyeballed the matching position to transfer it to a drillable place under the bumper. I’m usually pretty good at this kinda thing. The distance between the transferred points was within 1/16” of what I intended which was good. So I split the difference and drilled the holes. I put a video in the first comment. Then I put the bevel washers back in along with the light assembly, and lined it up to protrude about 1/8” from the bumper face just like the fronts. While holding the light in place, I poked the marker up through the new bumper holes to mark the final hole positions in the plastic. After all that, I was within 1/16” of the original estimates I sketched on the plastic, transferred from the cardboard. Sometimes I impress myself. I could have just hacked the whole thing together, but I like to confirm every step of the way that my original design is going as planned. I’m picky that way. And then wonder why it takes forever to get anything done lol. Likewise, the thinner 1/4” plastic did change the mounting angle a bit as expected. I think instead of remaking the pieces in the intended 3/8”, I’ll just add washers to tune the angle as needed once the car is actually on the road. For best light aim. I also just used some old 10-24 screws I had laying around. When done and the car is cleaned up, I will replace them with chrome or stainless. Then I felt raindrops, but then they stopped. Good, because I really wanted to do this next thing. I rigged up some wire and connected the lights to my battery charger to see what they looked like lit up. Then with comparison to the other lights. They still have amber bulbs because they are front turn signal units. But this is still a very exciting step! More motivation! At the minimum, I will use red 1157s. But what I really want is red/white switchbacks so they can be aux reverse/brake lights as well as rear fogs. I can wire them to do anything I want. But both filaments need to be bright, unlike a typical 1157 where one is bright and one is dim. Been contacting sellers of these with no response. So for now I’m looking at rear fog switches with an indicator for the dash, and get the wiring run for that, because that needs done regardless. The rest can be tied in later, the wiring is all back there. Just realized the lights line up with the 3rd seat footwell. Looks interesting but total coincidence. The placement was as close as I could get them to the outside, while clearing the bumper mounting structure behind. So I set the edges of the openings 6” from the bolt centers, which clears the structure by about 1/2” or so. The structure on each side is a bit different. (edited)
Cars Community
The cars community, chat, and discussion.
426K SOULS
My process of holding a sharpie on the mark for hole center inside the bumper, and sighting down it to project the hole position to the outside bottom surface, so it could be drilled. Yeah this video was done afterwards to give the idea, after I was done. My phone stays in the house when I’m working on things.
Meet New People
50,000,000+
DOWNLOADS